Home › Online exam instructions
Online exam instructions
The online exam lets candidates take part remotely, a more flexible and accessible way to show their language skills. Good preparation and knowing the procedure are decisive, so the instructions below set out how to take part in the exam successfully.
Before the exam
System check
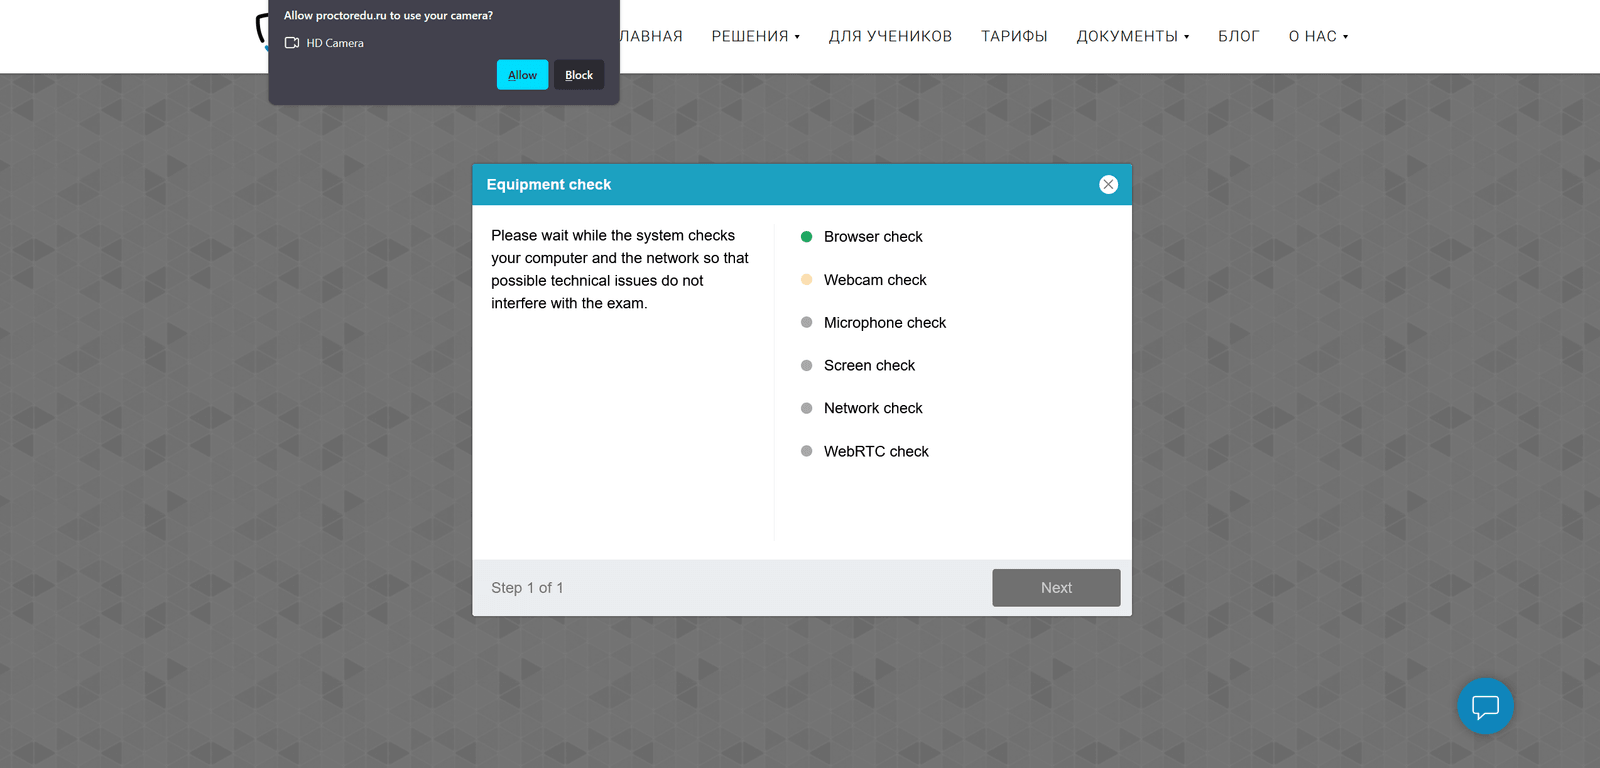
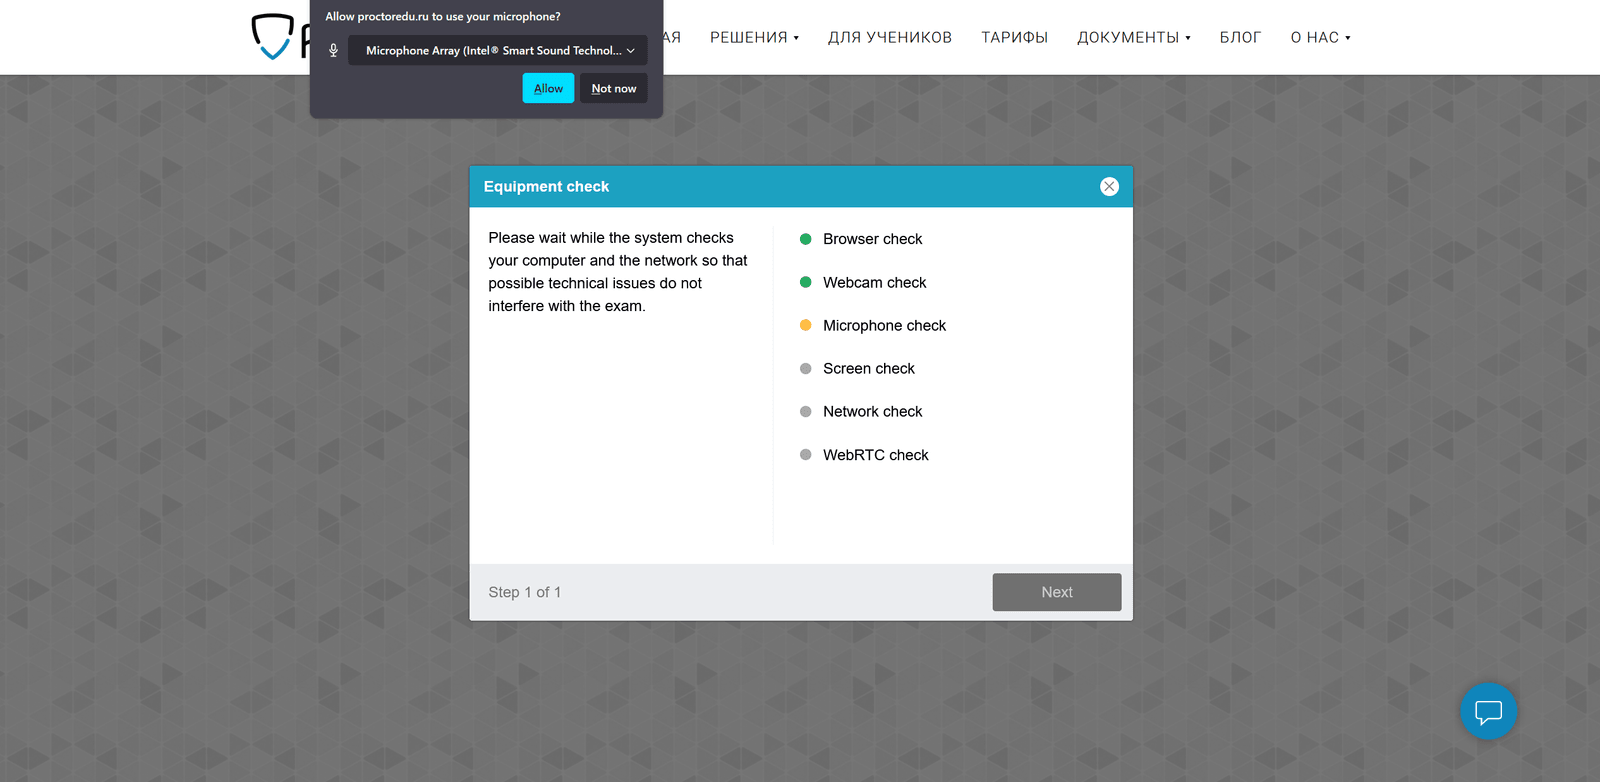
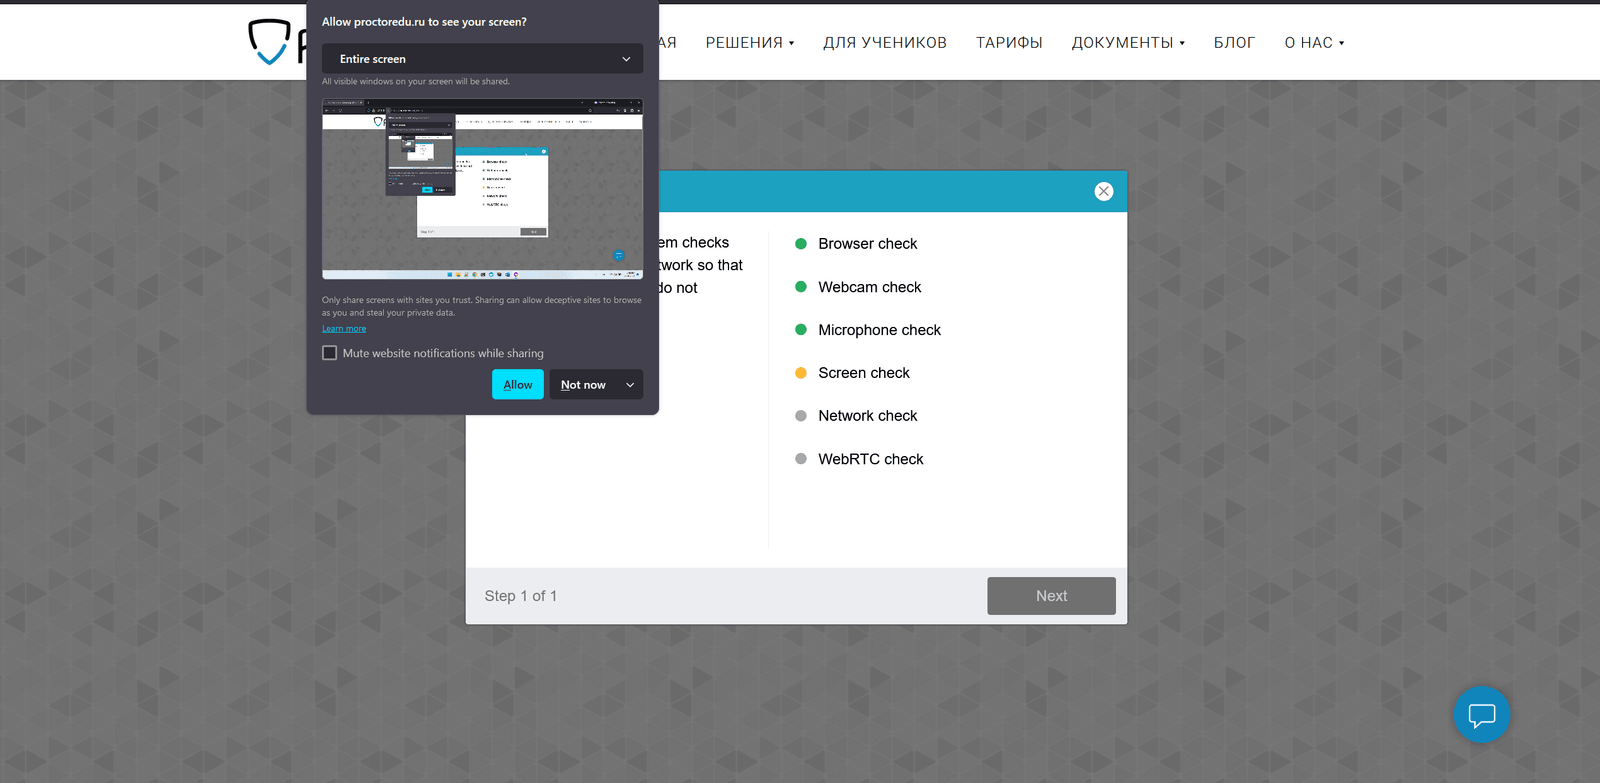
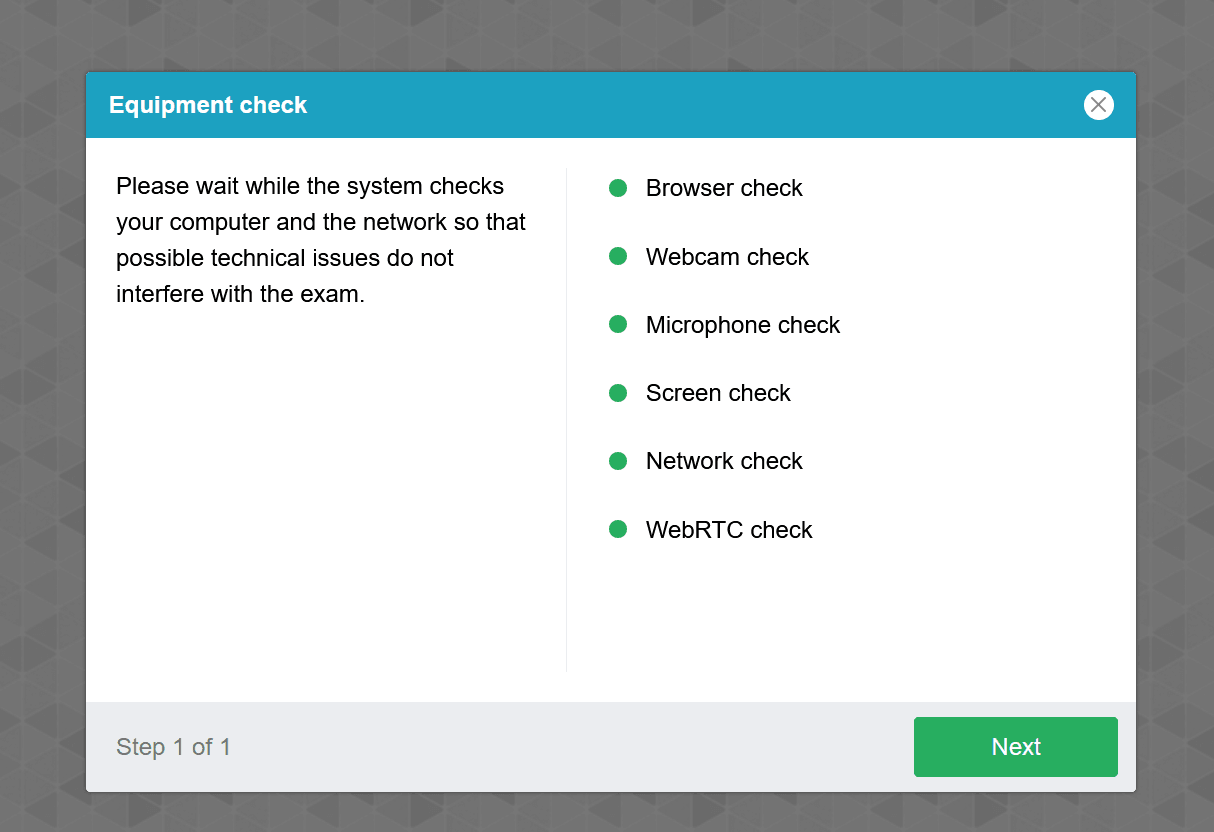
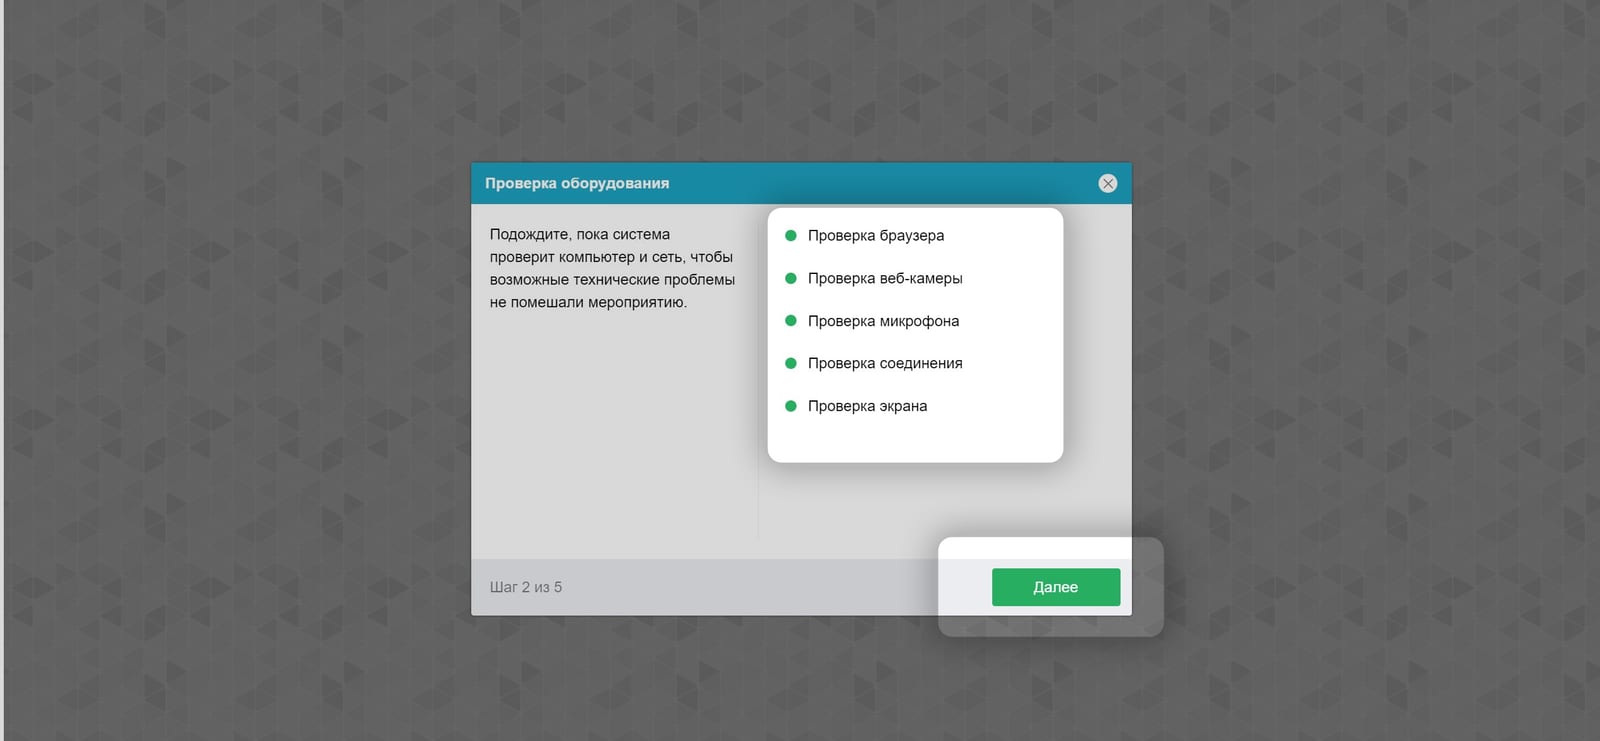
Before the exam, make sure your computer meets all the technical requirements set for the test. They include a fast enough internet connection and a working microphone and camera, so that the exam runs smoothly. Use this link to check your equipment: proctoredu.ru/check
Exam software
The exam platform supports only the browsers Mozilla Firefox and Google Chrome in private (incognito) mode on a computer running Windows, and runs reliably only there. Computers with macOS, iOS and Android devices, tablets and phones, even with the same browsers, are not supported.
Important! On the day of the exam, make sure your mobile phone is fully charged and has a camera: it is used as a remote camera during the exam. It must also be able to read a QR-Code.
Download and install the Zoom app on your computer. Before the oral exam starts you will receive a sign-in link from the examining authority, which gives you access to the oral exam.
How the exam runs
Access to the system
Once you have your sign-in details, and before the exam date, sign in to the examining authority's platform and take the trial test. The platform is here: torfl.spbu.ru
The times in the schedule are Moscow time and may differ from your local time.
There is a 10-minute break between sub-tests.
Each sub-test allows 10 minutes for signing in, the system check and identification.
After preparing for the oral part on the platform, you answer the examiner on Zoom at your scheduled time, and you may close the platform.
In the Writing sub-test you have 5 minutes to upload a photograph or scan of your answers. ONLY uploaded answers are counted.
The exam
Before you start the exam, have the following beside you:
An identity document (for example an identity card or a passport)
A pair of headphones, for better sound in the listening and oral parts.
You may use a dictionary (on paper) up to level B2.
A blue pen, for the written answers.
Sheets of paper for the written part, and a few rough sheets for notes.
01
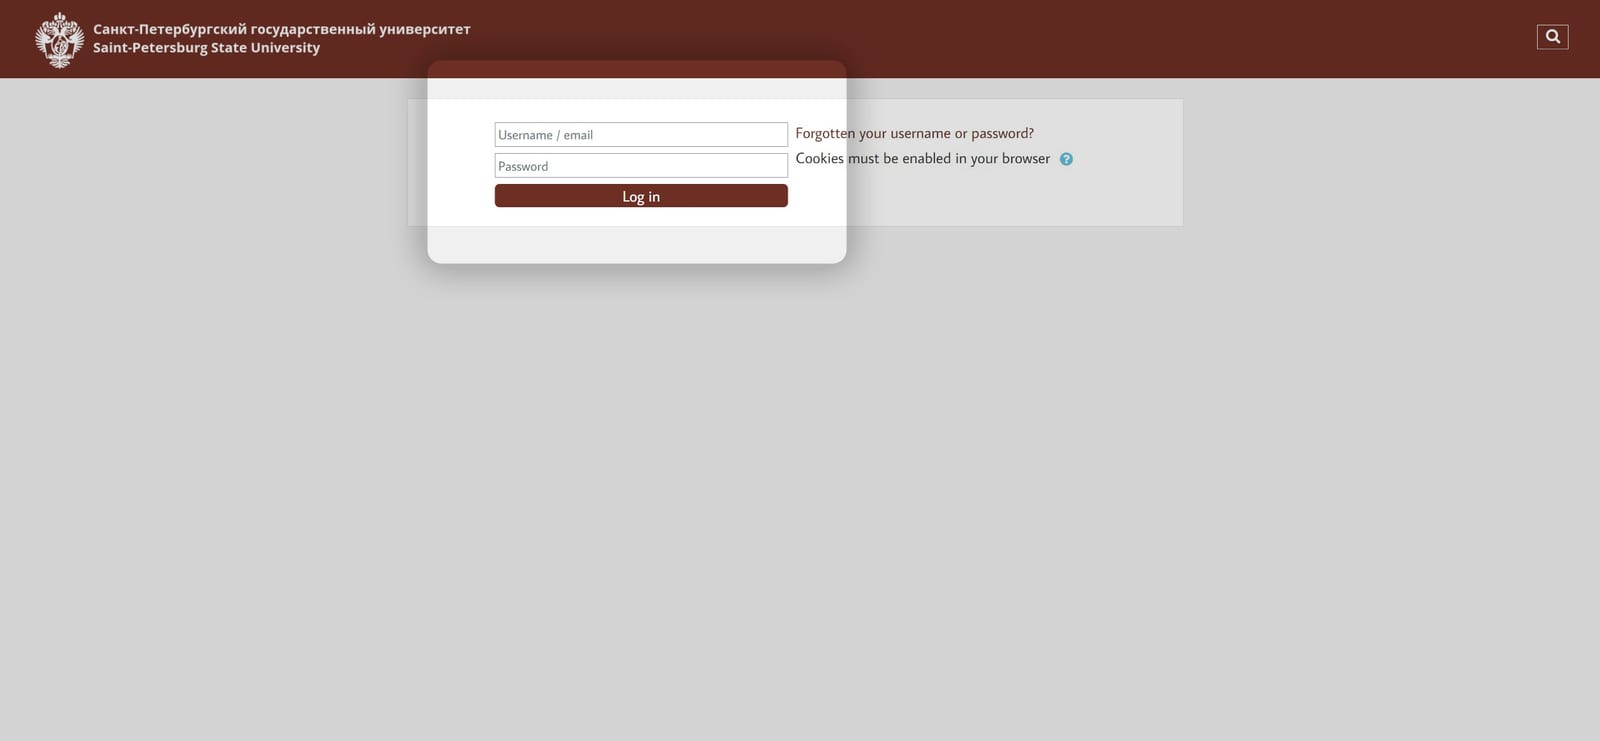
Signing in to the platform
Sign in to the exam platform with your details.
02
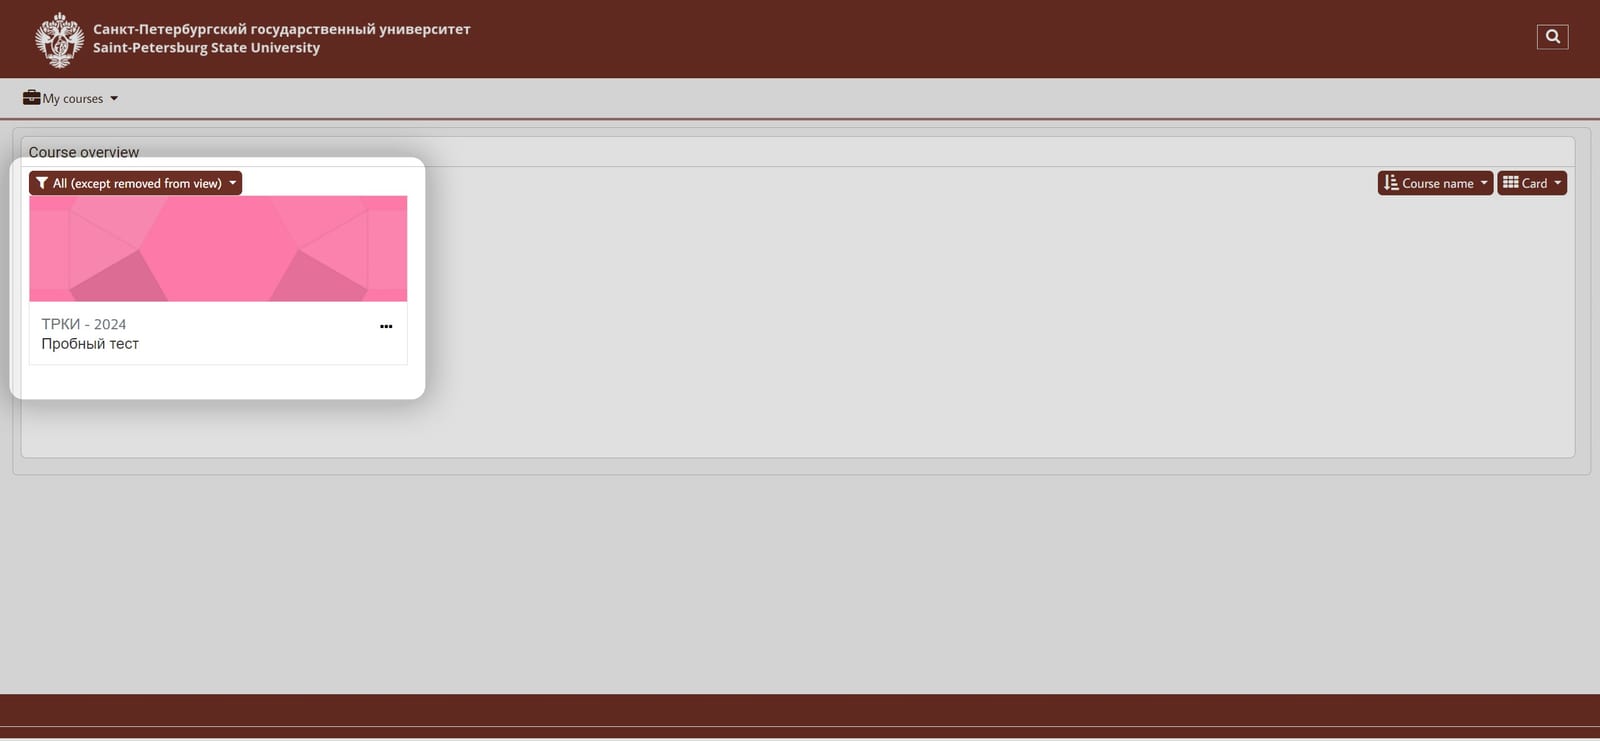
In the overview of the available courses, choose the exam you are going to take
Important! The list holds the trial test and earlier exams: choose the one you are being examined in.
03
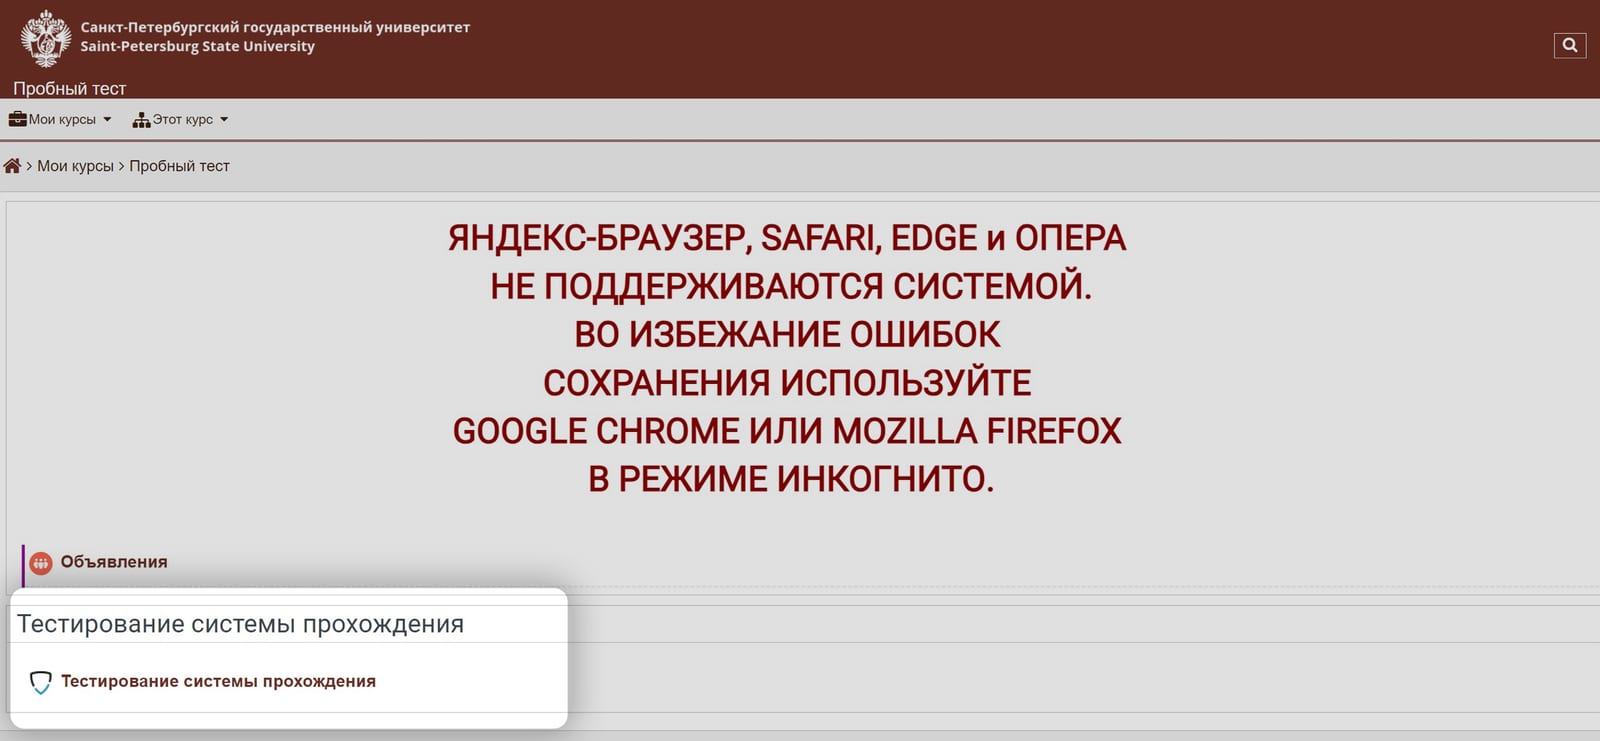
Choose the exam on the page
04
Watch the video that gives the instructions for the exam
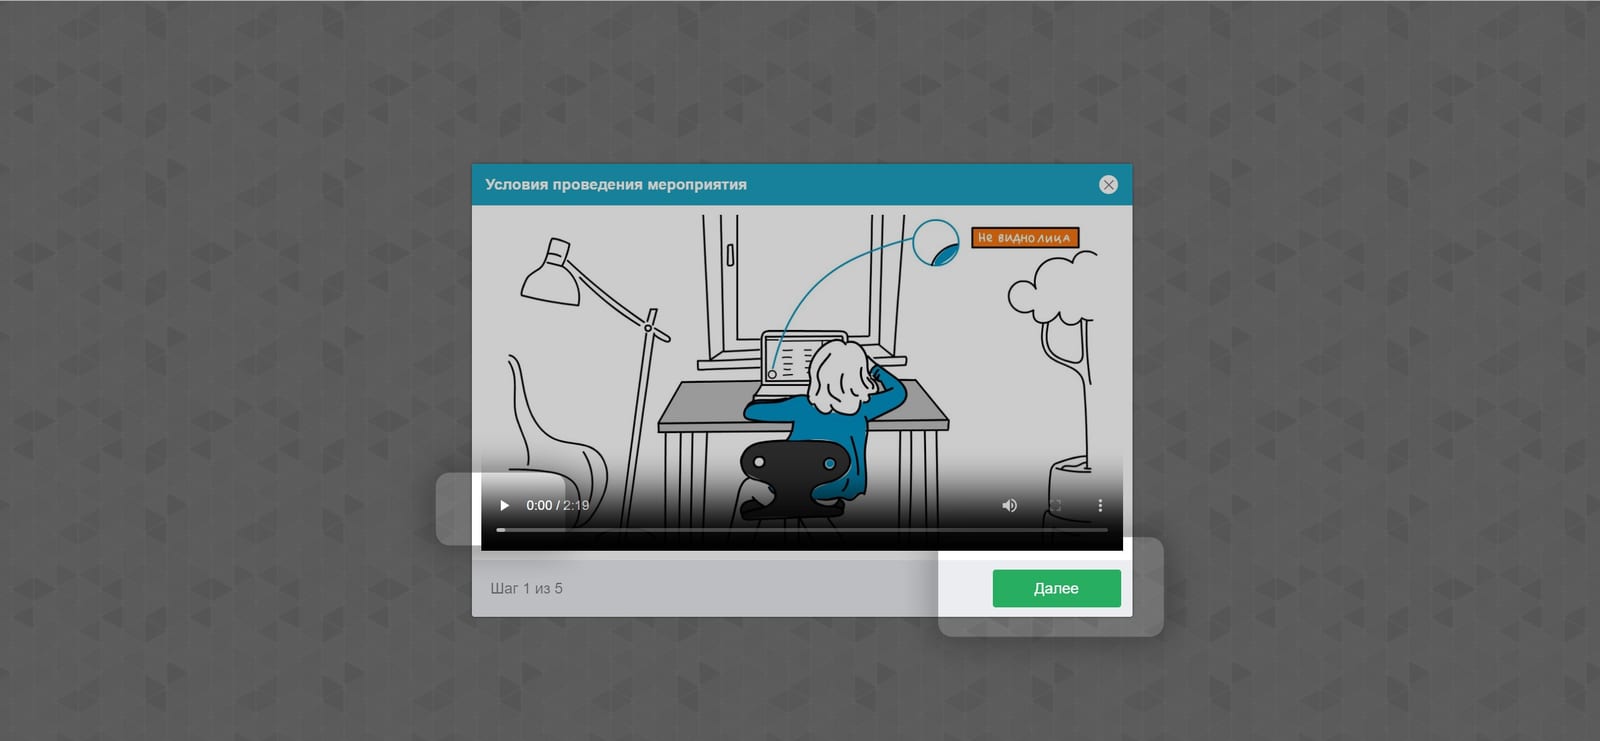
05
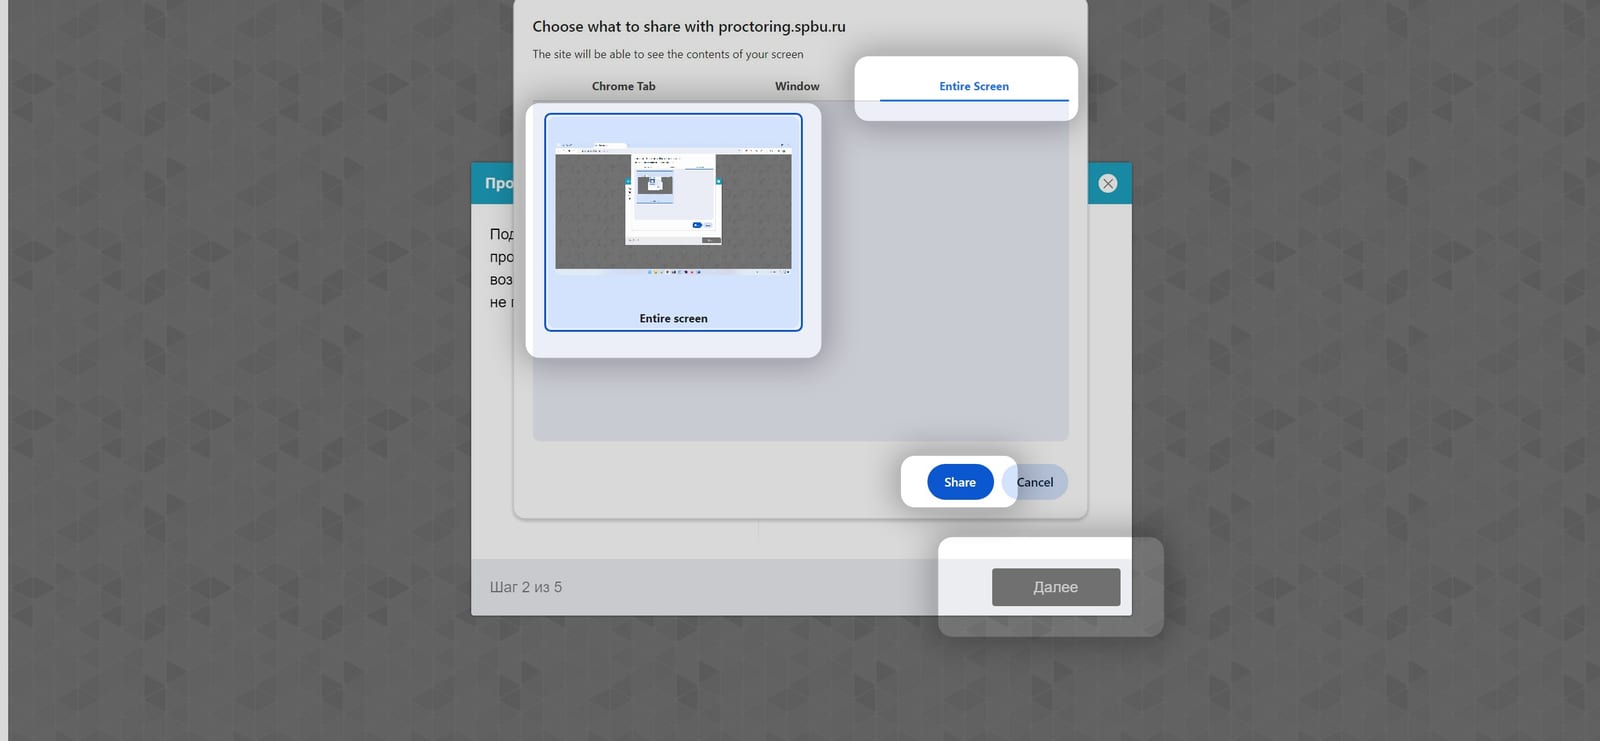
Allow the use of your screens
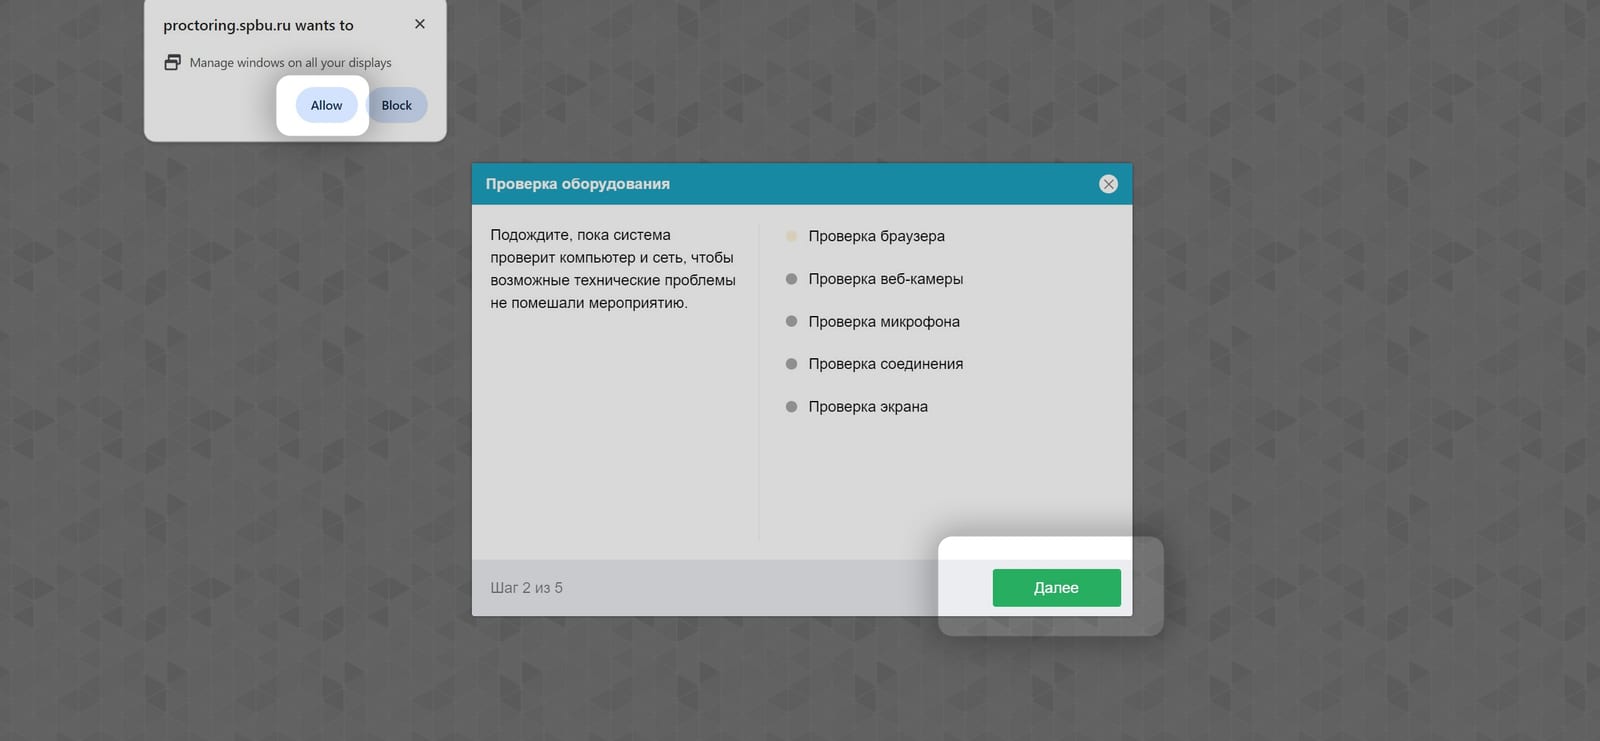
06
Allow the use of your camera
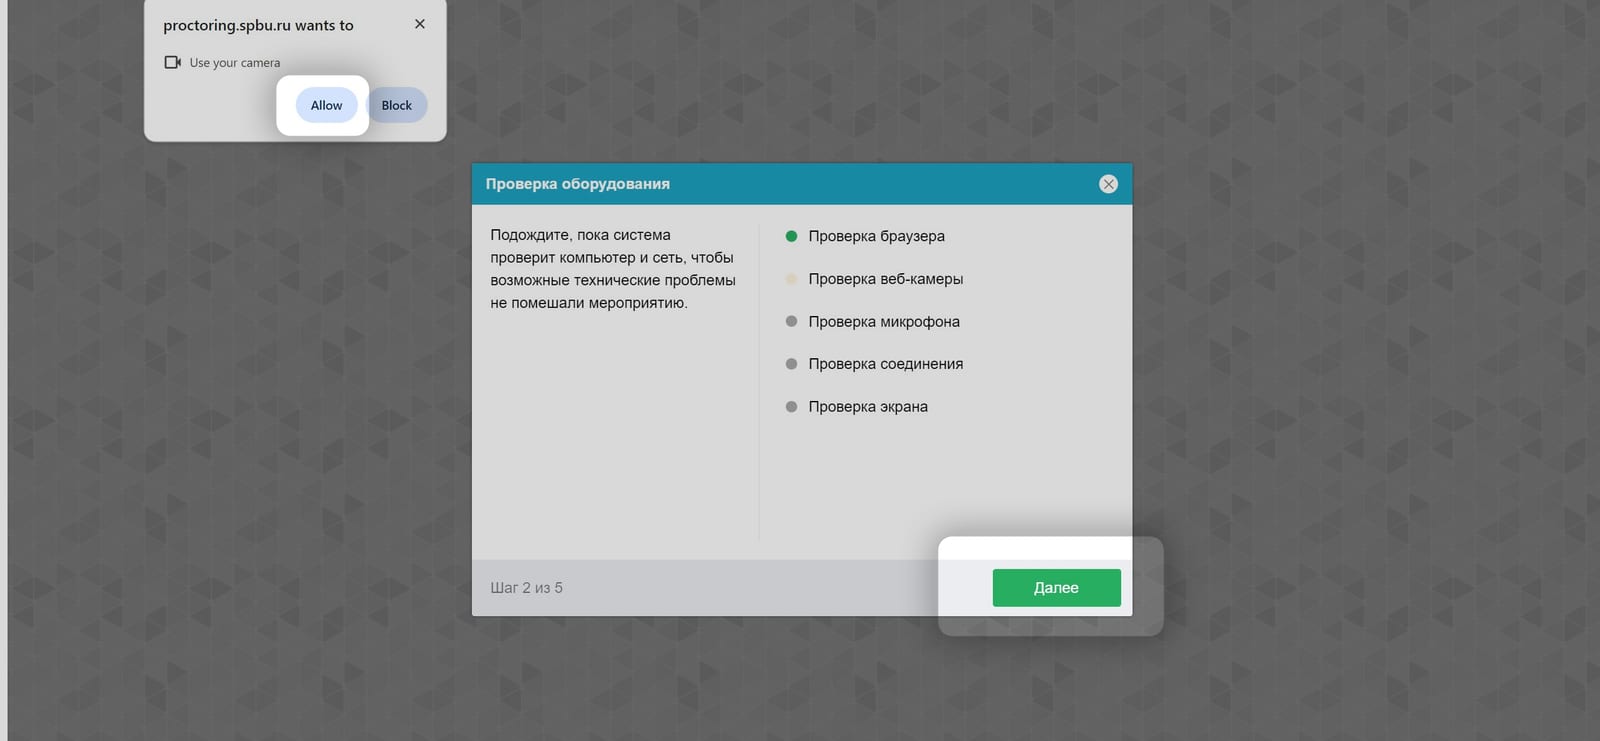
07
Allow the use of your microphone
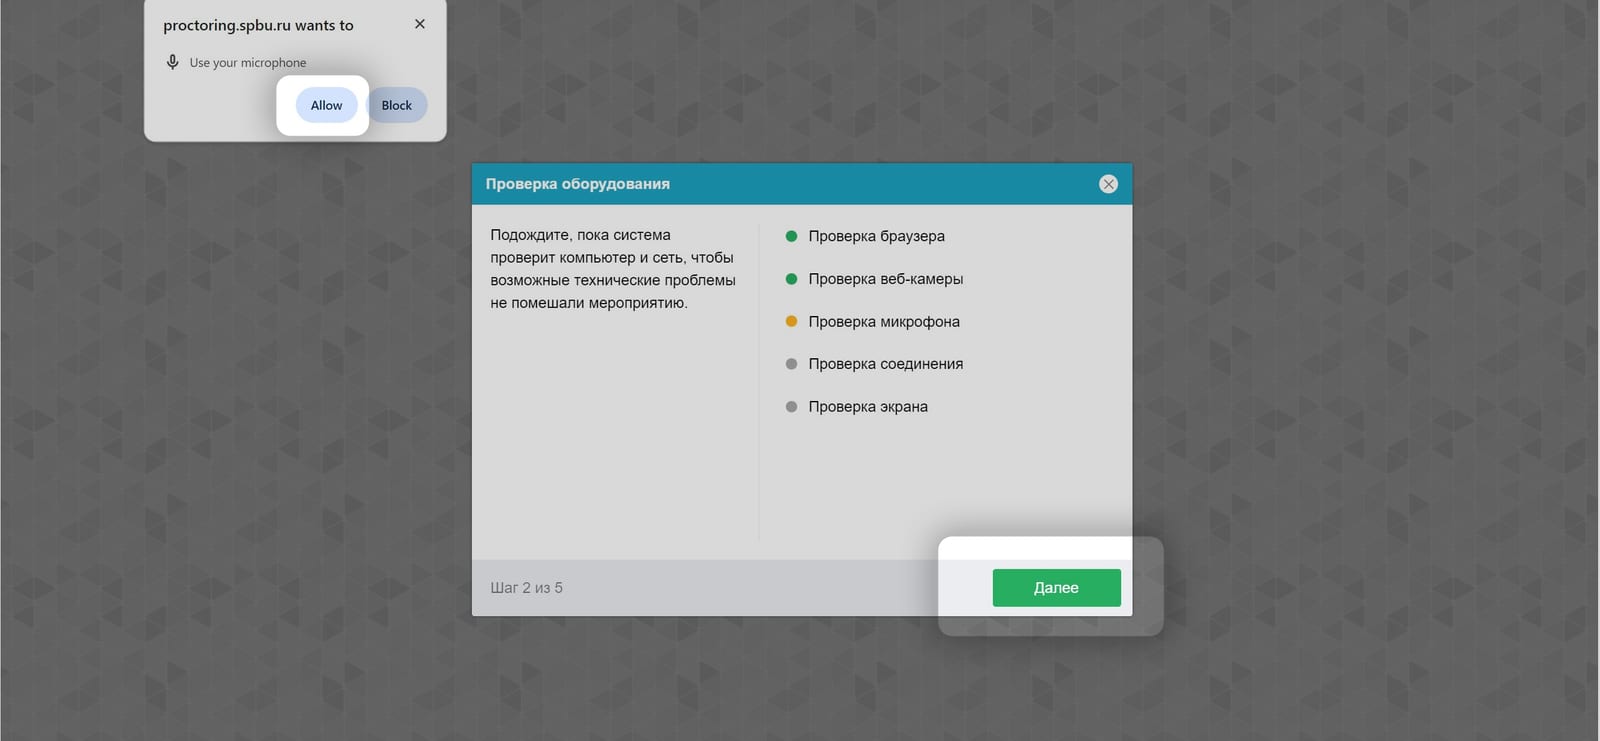
08
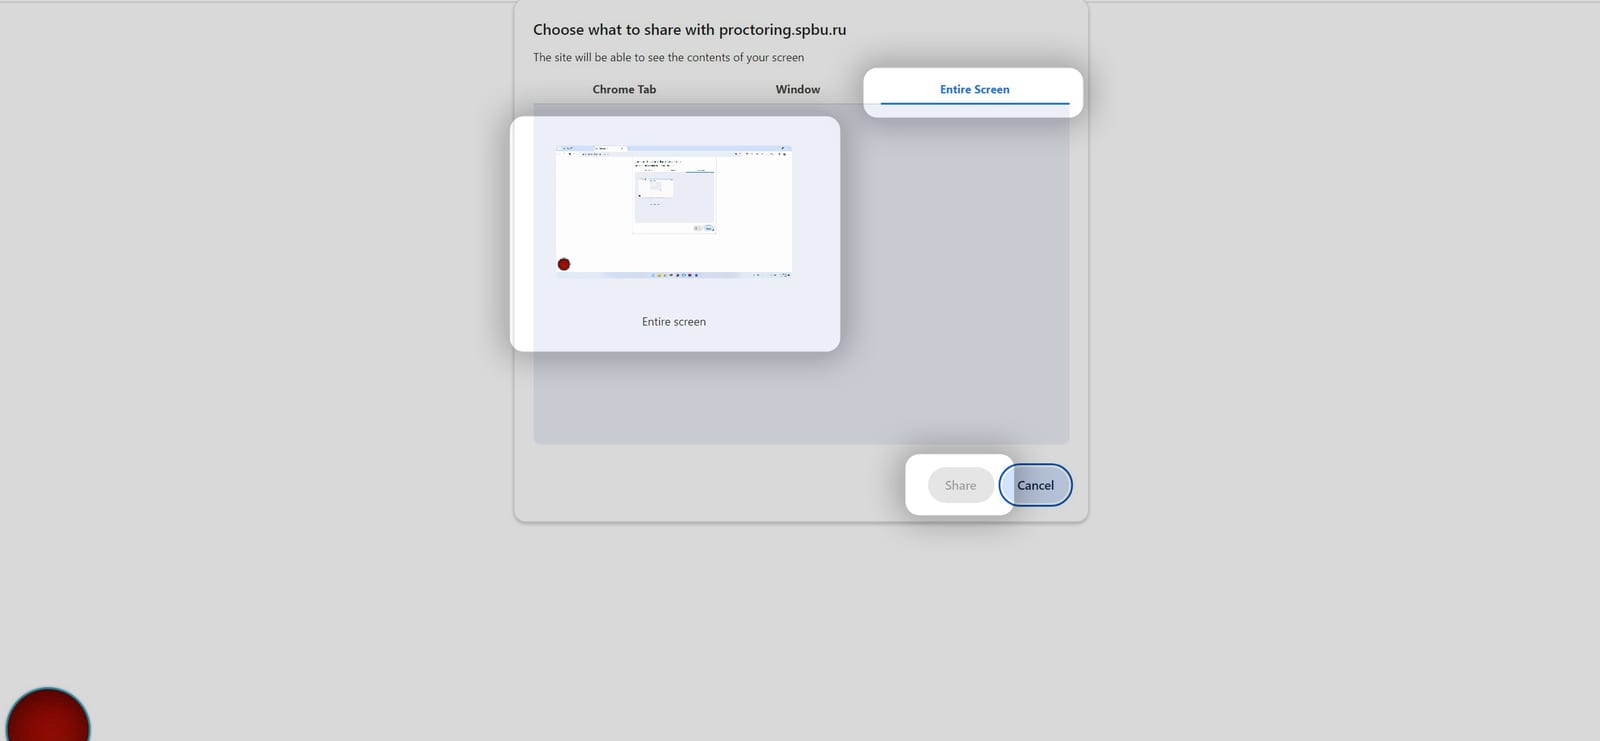
Choose the entire screen to share
09
Complete the technical steps
10
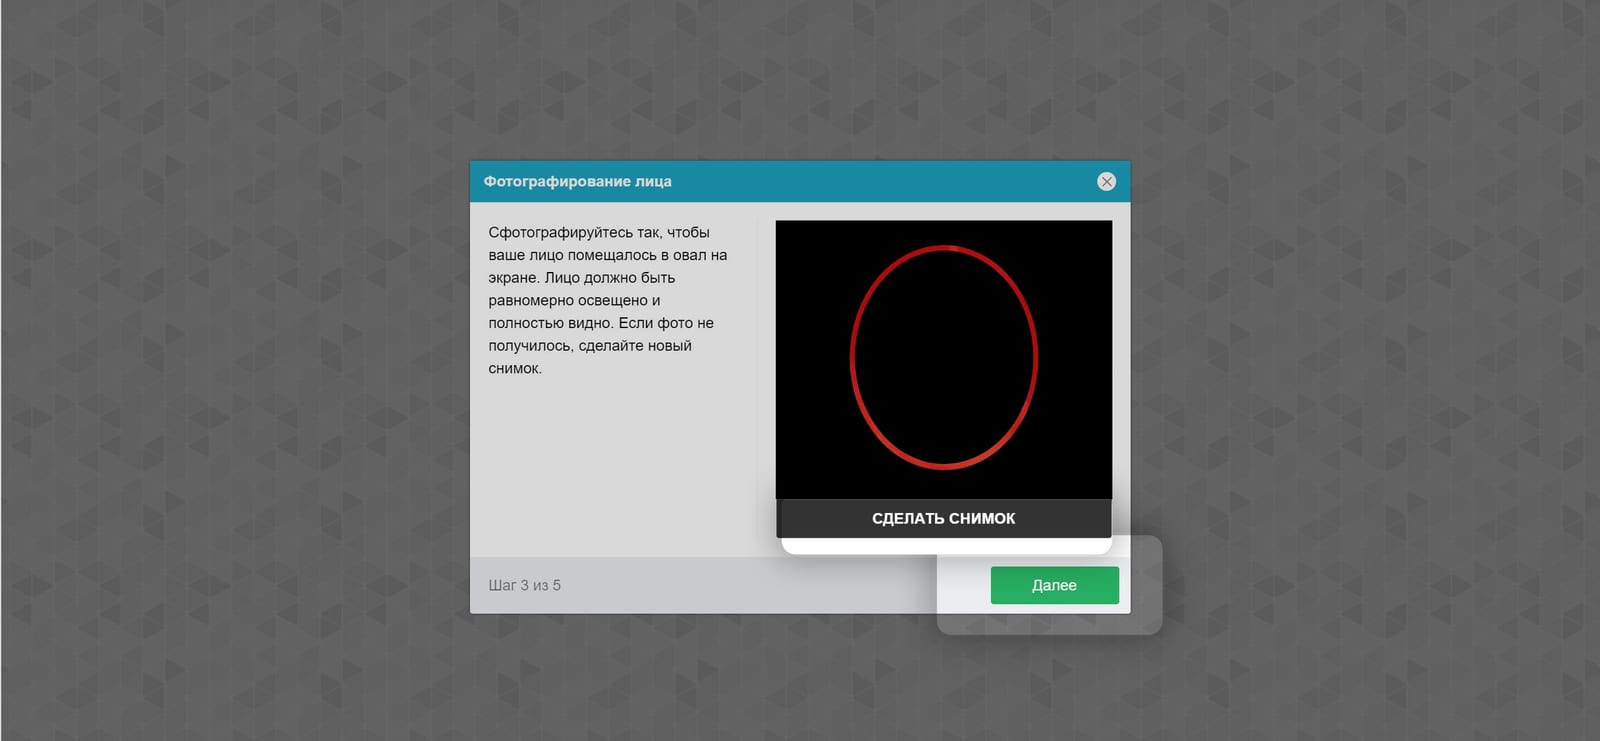
Face photograph
Your face must fit inside the oval, be evenly lit and be fully visible. If it did not work, try again.
11
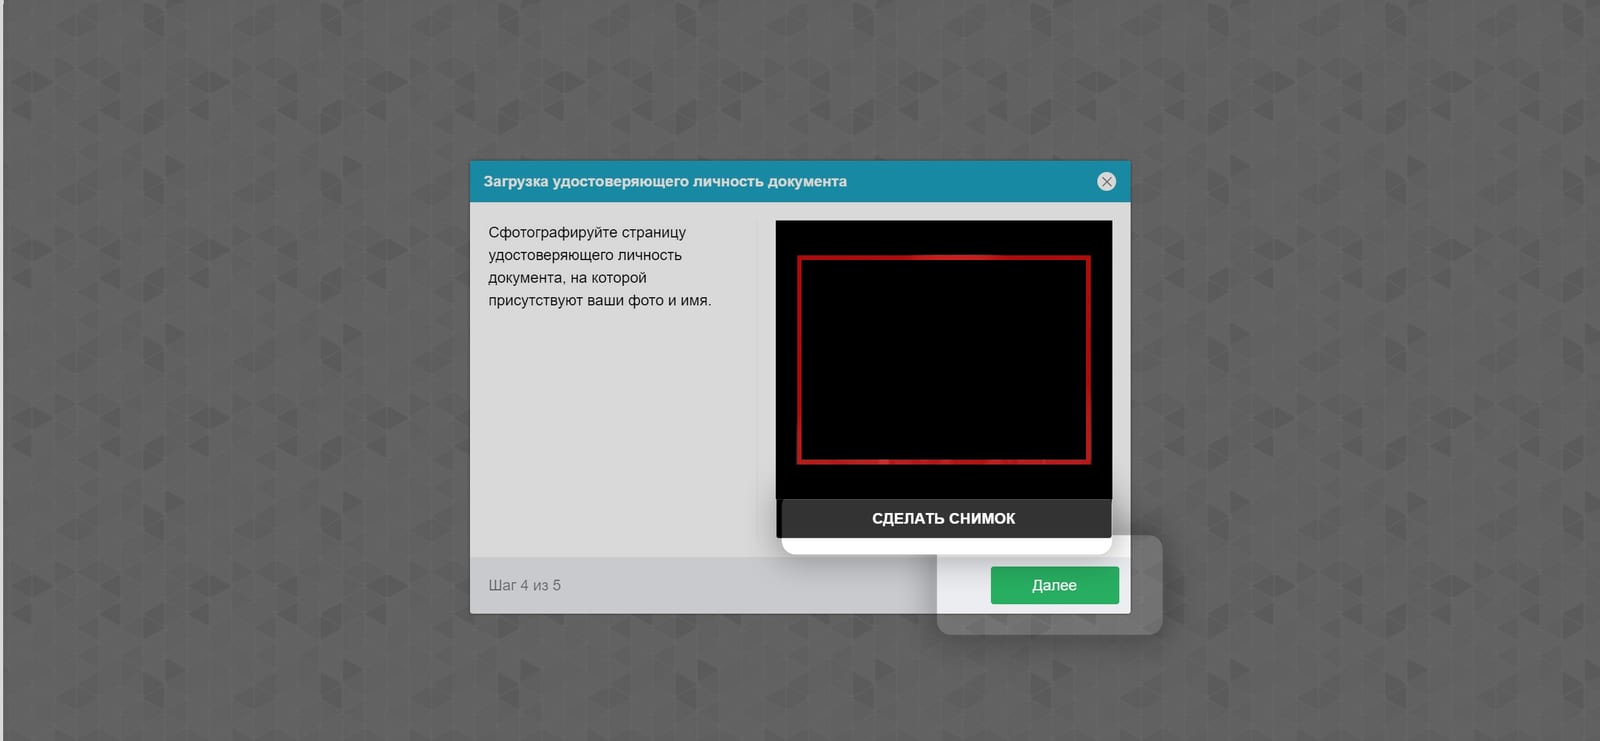
Identification
Photograph your identity document (for example an identity card or a passport), where your photograph and details show.
12
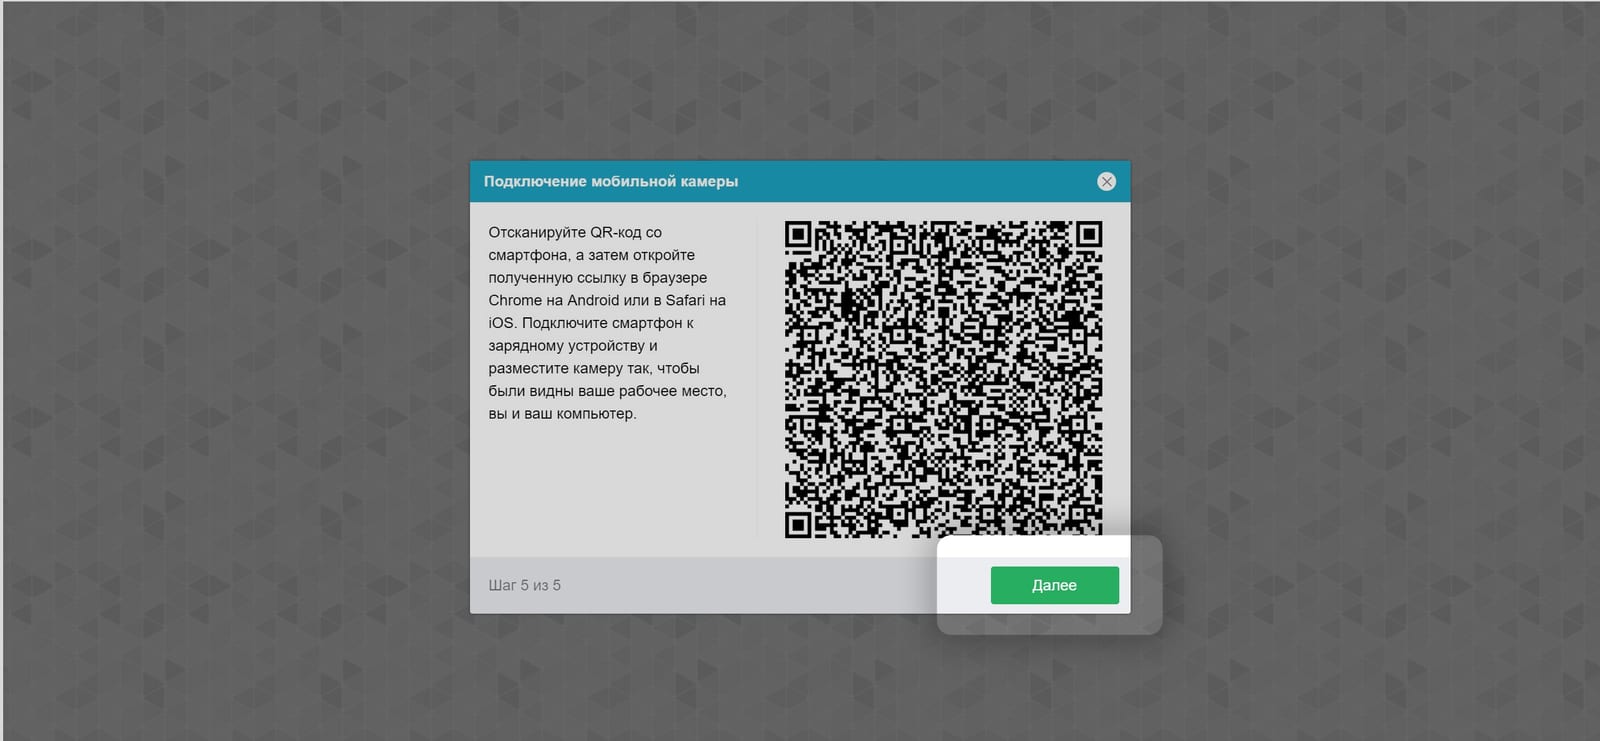
Connecting the phone camera
Scan the QR code with your phone. It becomes a unique link that you must tap; a page opens and the remote camera starts. Place the phone so that your room, you and your computer are in view.
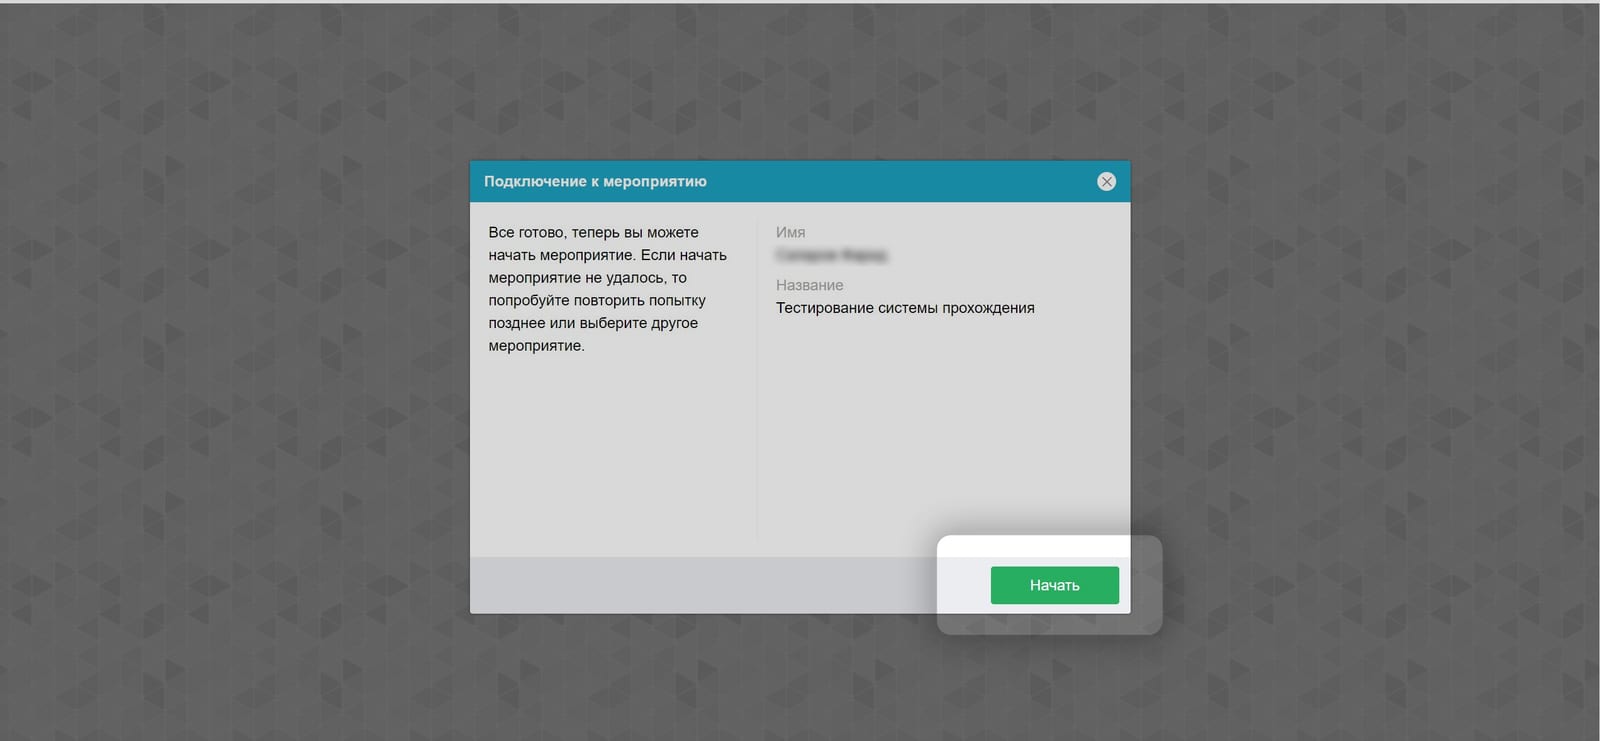
13
Confirm the start of the procedure
14
Start sharing your screen
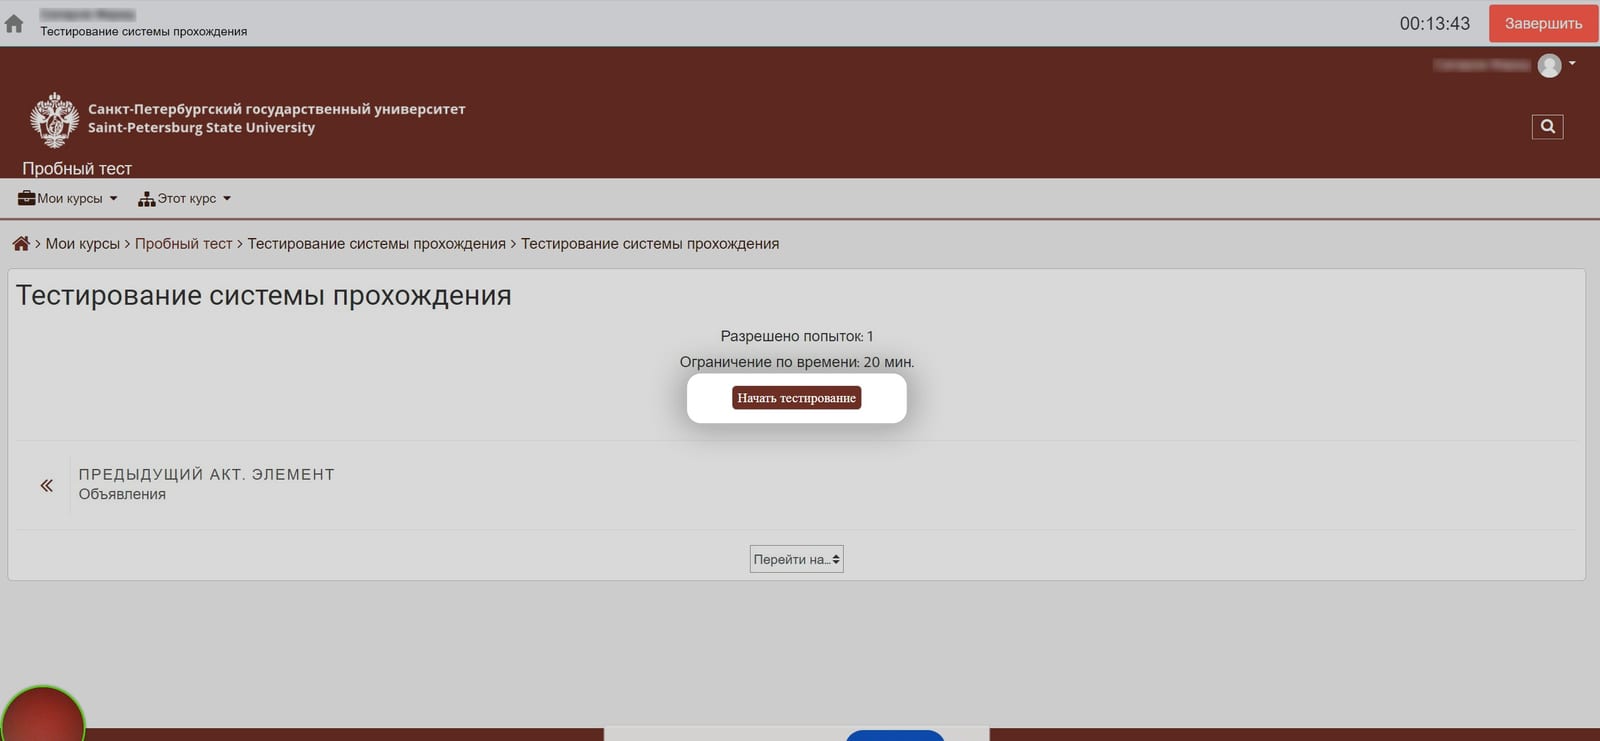
15
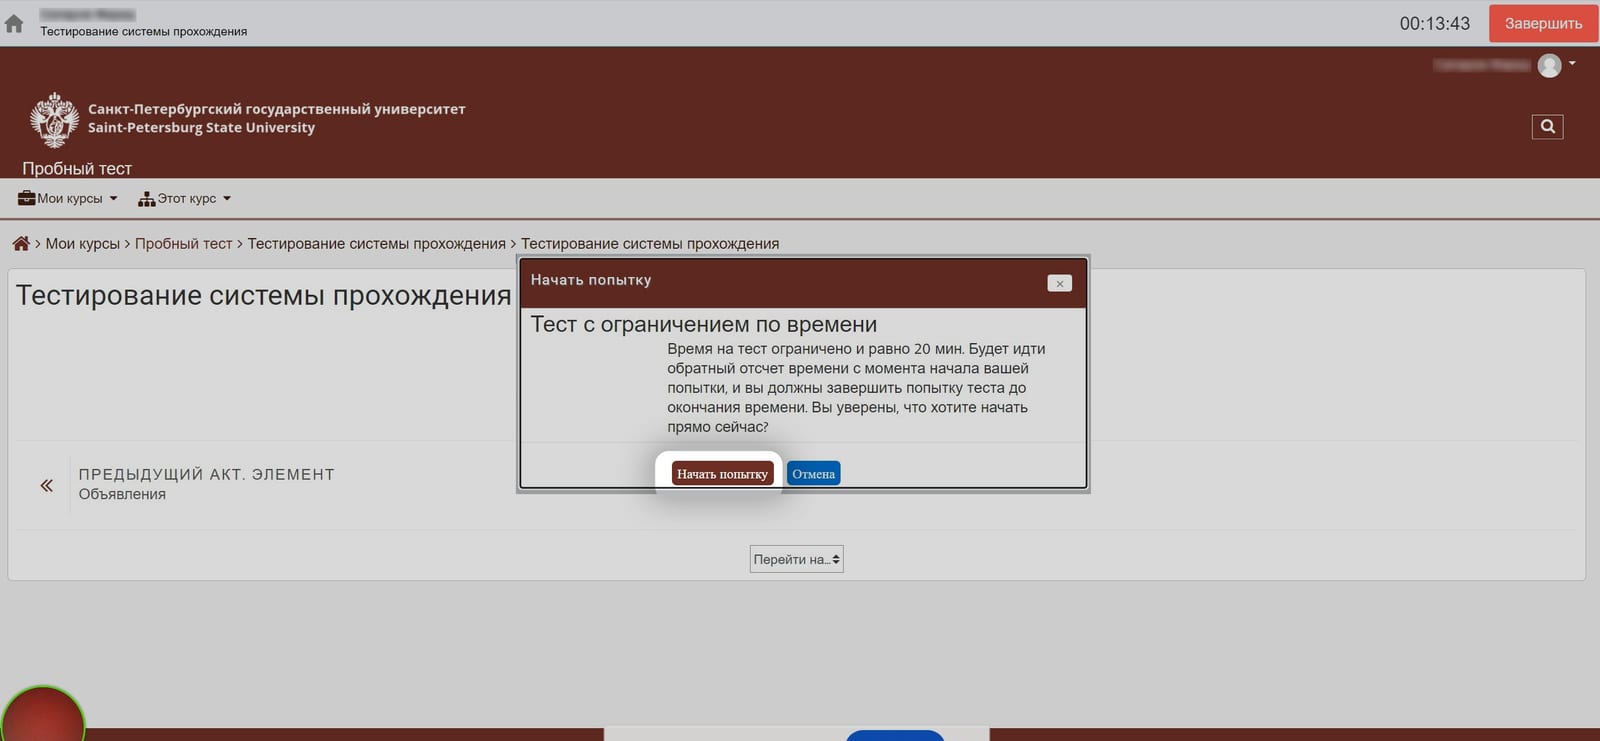
Choose to start the exam
16
Confirm the start of the exam